- Savage Blog
- How to Sight In a Red Dot Optic
How to Sight In a Red Dot Optic
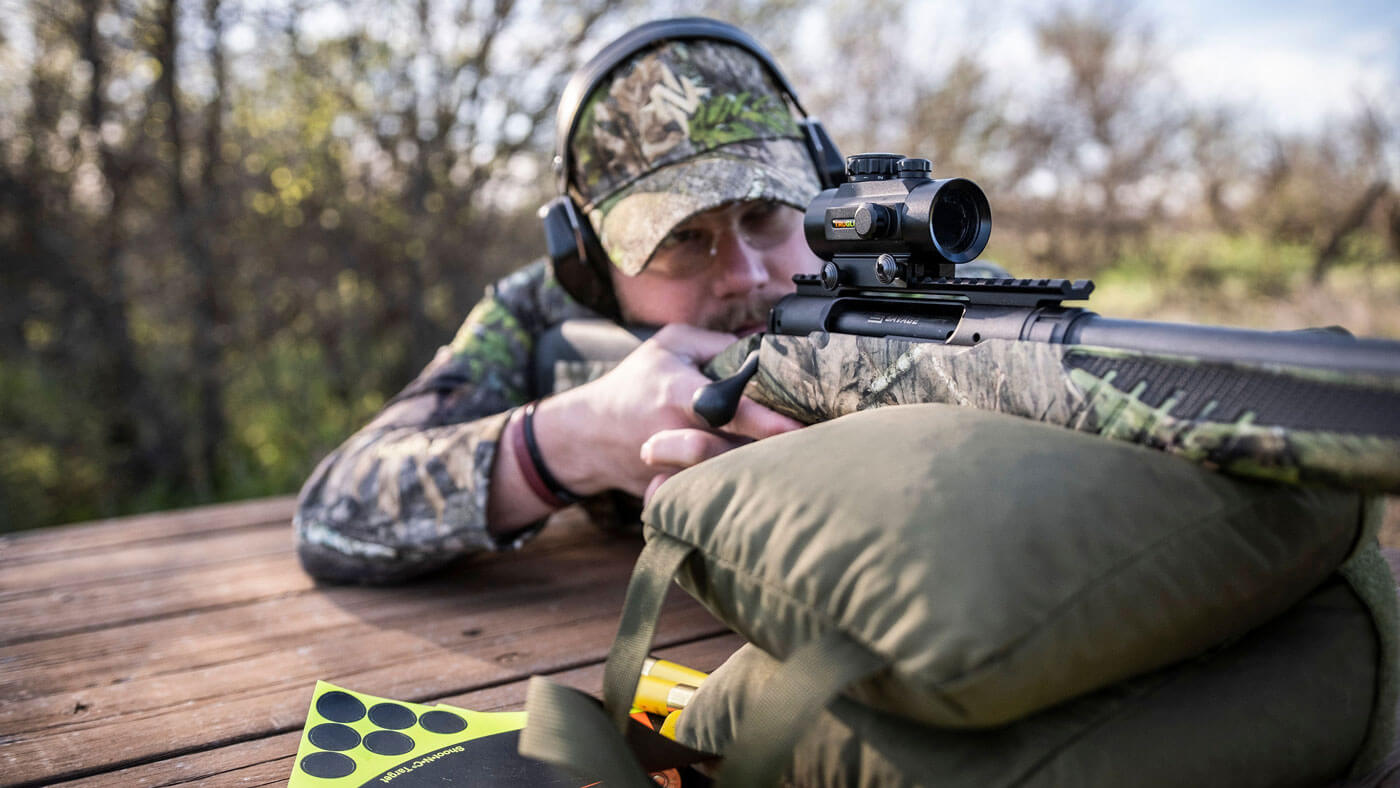
Red dot sights have become commonplace in today’s firearms culture. Among hunters, target shooters, and firearms owners in general, red dots can be commonly seen on rifles, shotguns, and handguns. It’s easy to see why. Red dots allow for easier target acquisition, faster follow-up shots, and a clearer sight picture to assist in more accurate shooting. Let’s go through how to sight in a red dot optic on your firearm!
Different Types of Red Dots
Not all red dots are made the same. There are a few different types of red dots on the market today, each with its own advantages, disadvantages, and usage cases. In today’s market, the three most common types of red dots you will find are reflex sights, holographic sights, and prism sights.
Reflex Sights
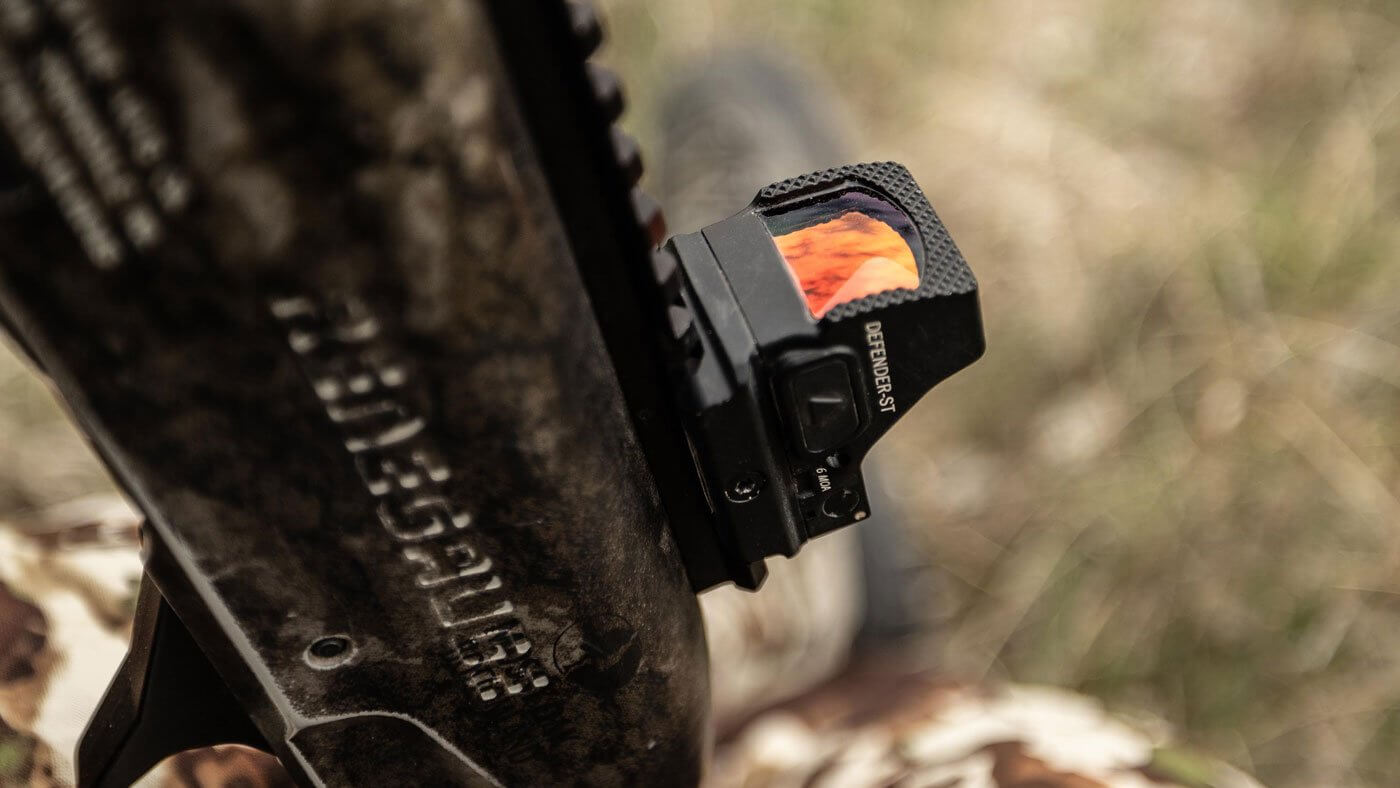
Reflex sights are the smallest, most compact red dot sights. They have a wider sight picture and use an LED and curved glass lens to reflect a dot onto the glass of the optic. Reflex sights are often the preferred choice for handguns, especially concealed-carry handguns like the Stance XR. Reflex sights have also become popular optics for shotguns for both turkey hunting and defensive use and are also popular for short-range target rifles like the A-22.
Holographic Sights
Holographic sights are similar to reflex sights in that they offer a wide field of view with low magnification. However, holographic red dots use a laser to project a hologram of the reticle onto the glass. This makes their image incredibly clear and without distortion. Because of the technology used, holographic sights are typically bigger than reflex sights and are most often used on rifles and shotguns.
Prism Sights
Prism sights are a cross between a traditional scope and a red dot sight. Like traditional scopes, they typically have some level of magnification with the reticle etched in glass. They are more similar to red dots with their smaller size and illuminated reticles, and the magnification power of a prism sight is also fixed in place and not adjustable like a regular rifle scope. Like holographic sights, they are most commonly used on rifles and shotguns.
Before You Sight In a Red Dot
What You Need
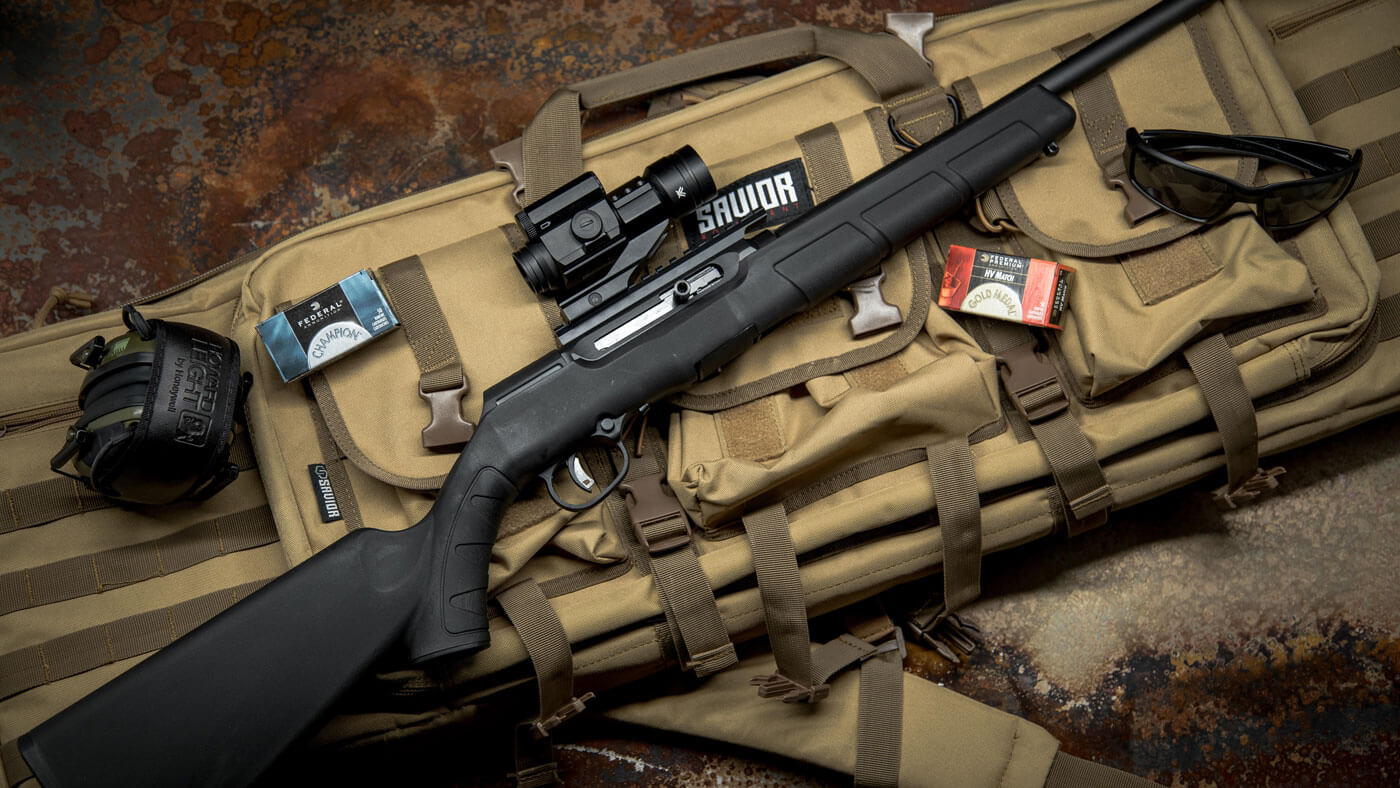
Before you sight in a red dot, you’ll need a few materials gathered up:
Your firearm with the red dot sight mounted.
Ammunition
Target
Shooting bench
Bags or shooting rest
Ear and eye protection
Small screwdriver or hex wrench for adjustments
Tape measurer (optional)
Laser boresight (optional)
Keep in mind that most red dots will have a 2 MOA, 3 MOA, or even up to a 6 MOA dot. They are meant for close-quarters shooting, and their larger dot sizes are inherently inaccurate at longer ranges. When you sight in a red dot, it’s best to keep distances fairly close.
Think about what you’ll be using the firearm for and the most common distance you will be shooting at, and then sight in the red dot for that distance. For rifles, this will often be within 50 to 100 yards. Handguns should be sighted in around 15 yards with a red dot, and shotguns can be anywhere from 20 yards to 50 yards, depending on the type of shot you are using. For shotguns with slugs, you can sight in a red dot at similar distances that you would a rifle.
Calculating MOA Adjustments
It is also helpful to know how to calculate the adjustments you will need to make before you head out to the range. Red dot sights are adjusted based on MOA. What is MOA? For shooting, it is a measure that approximates to a 1-inch spread at 100 yards. When a firearm is referred to as being capable of shooting “MOA”, it means that it can shoot a 1-inch-sized group at 100 yards.
To determine the MOA value from the distance you are shooting at, you can divide the distance you are shooting at in yards by 100. For example, at 50 yards, 1 MOA = ½ inch (50/100). When you adjust 1 MOA at 50 yards, you are adjusting the point of impact by ½ inch. To find your MOA adjustments when you shoot your target, you can use the following formula:
Inches from target center / MOA value
For example, at 50 yards your MOA value is ½ inch, as shown above. Let’s say you shoot 2 inches left and 4 inches low when you shoot your initial group. To find your MOA adjustments, you take 2 divided by ½ for your windage and 4 divided by ½ for your elevation. The MOA adjustments needed for your group are 4 MOA right and 8 MOA up.
To find the number of clicks you need to dial, take your MOA adjustment and divide it by the MOA value per click that is listed for your red dot. You can find this value either on the sight itself, or in the owner’s manual for your sight. On a red dot sight where the adjustments are “1 click = ½ MOA”, you would divide 4 and 8 by ½ to get an adjustment of 8 clicks right and 16 clicks up.
Sighting In Your Red Dot
Before you hit the range to sight in a red dot, you can opt to laser boresight your firearm if you have one available. Here are the steps to laser boresighting your firearm:
Before laser boresighting, make sure your firearm is unloaded with the magazine removed
Place your firearm into a bench rest or vise to keep it steady and level.
Place a target 10 to 15 yards away in line with the firearm.
Insert the laser into the end of the barrel and activate it. Make sure you can see the laser at the distance you are boresighting. It is best to boresight on a target board, or indoors pointed at a wall.
Move the red dot in your sight until it covers up the dot from the laser boresight.
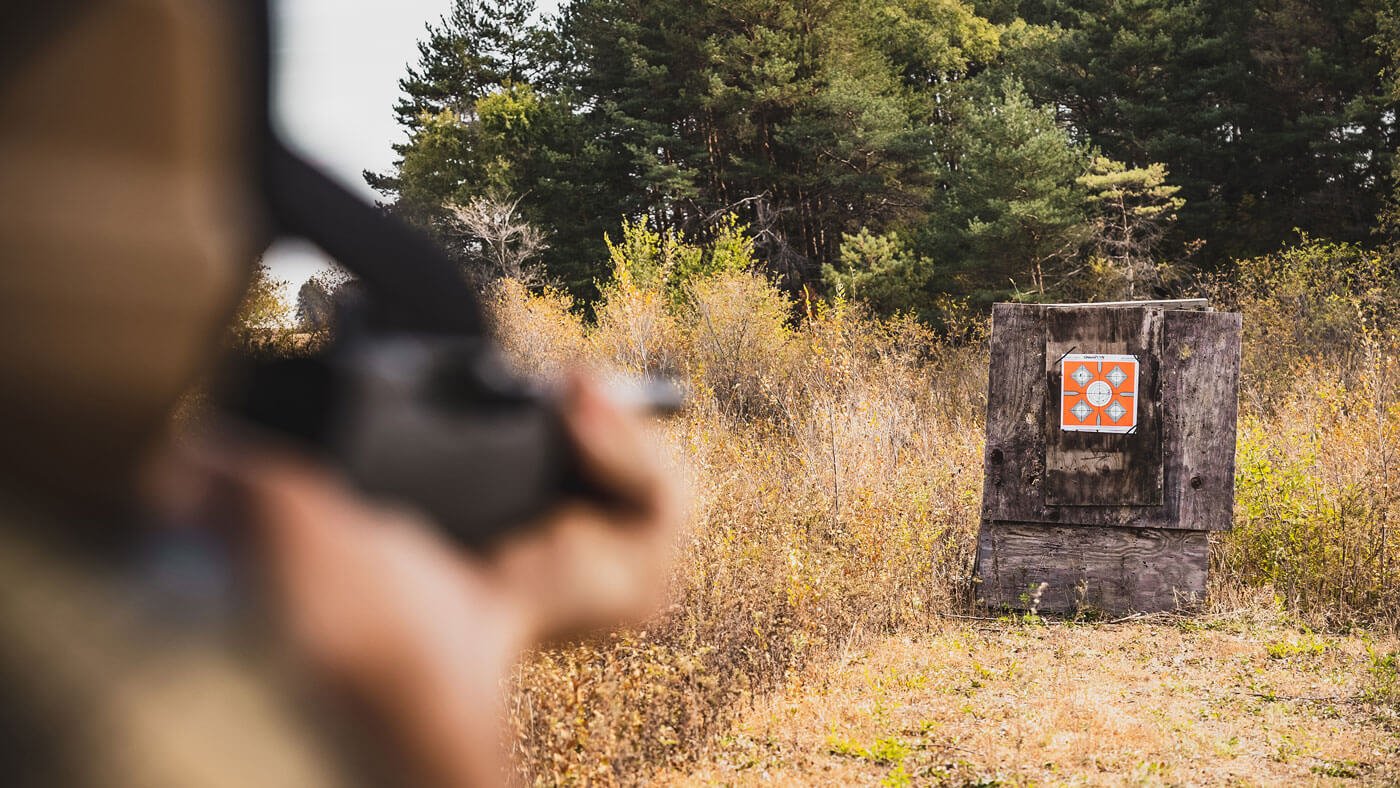
Once you are at the range the process to sight in a red dot is fairly simple. Here are the steps.
Before you sight in a red dot on your firearm, make sure you are wearing eye and ear protection. If you previously laser boresighted your firearm, make sure the boresight is removed.
Place your target at your chosen distance.
Set your firearm up on your bench rest and ensure it is in line with your target.
Fire a three to five-shot group at the target.
Note - If you are far off the mark with your first shot, consider adjusting your red dot to get your point of impact closer to the center before shooting a full group to help conserve ammunition.
Use your tape measurer to measure how far away the center of your group is from the center of the target. Measure the windage value (left to right) first, followed by the elevation (up and down).
Adjust your red dot based on the measurements you took. Use the MOA calculations from earlier to dial your adjustment into the sight.
After correcting your sight, shoot another group to confirm that you are zeroed on the center of the target. Repeat as necessary.
Once your groups are centered on the target, you have successfully completed the process to sight in a red dot!
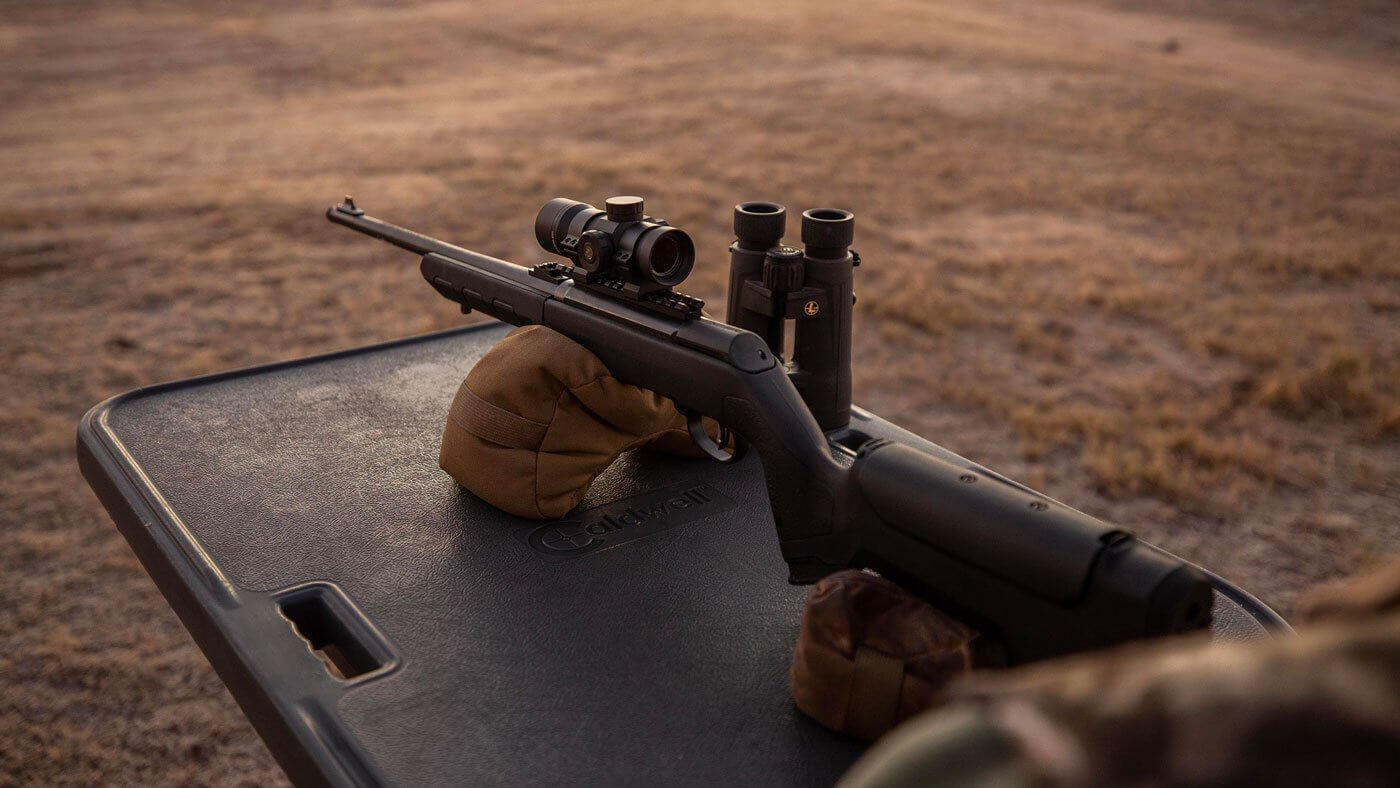
With the ever-increasing popularity of red dot sights, you may find yourself with a red dot adorning your next firearm soon! Knowing the quick and simple process of how to sight in a red dot sight will help you get up and running faster, so you can spend more time in the field hunting or on the range shooting and enjoying all the benefits a red dot provides for your experience. So give it a try, and see just how easy it is to utilize a red dot on your favorite target or hunting firearm!


